Remember flipping through paper programs at sporting events? That quaint ritual feels as old as sending smoke signals in a 5G world. We’ve moved from paper to pixels, and it’s a huge leap forward.
Today’s displays do more than just show numbers. They create real-time drama that keeps fans on the edge of their seats. Watching a last-second play without instant replay is like reading about fireworks instead of seeing them explode.
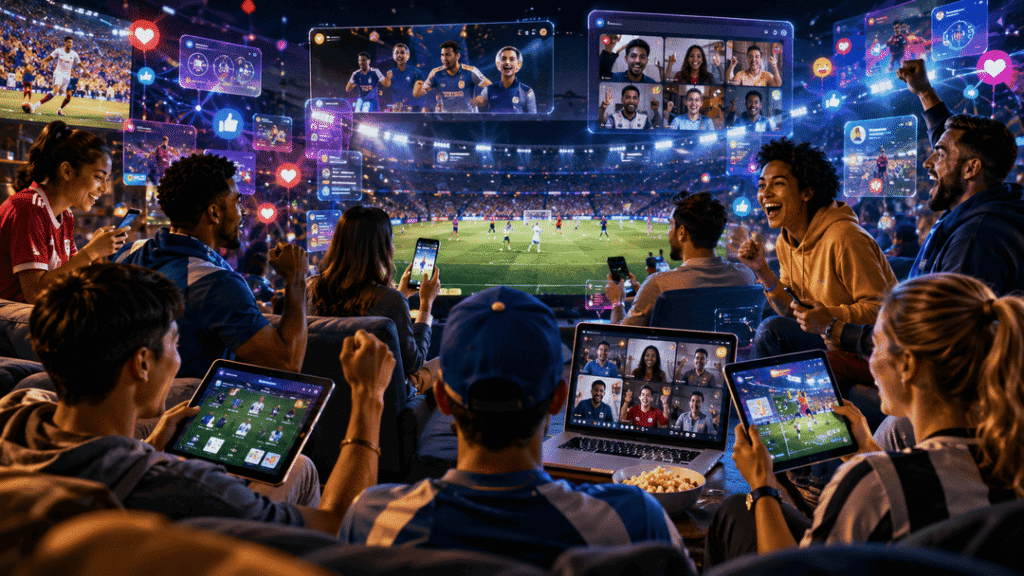
The psychological impact is deep. That immediate score update brings cheers or groans, bonding strangers. It’s like theater where the audience feels every emotion.
Professionally, these systems make amateur events look like pro productions. They show off the event’s quality—no more handwritten signs or delayed updates. For anyone planning a scoreboard project, the investment is worth it.
Simply put: digital displays make spectators feel like they’re part of the action. They’re the difference between watching history and feeling it happen live.
Design Basics: Before You Build
Most DIY electronics projects fail before they even start. They fall apart at the planning stage. Your project should avoid becoming a garage sale item.
Good design is about functionality, not just looks. Imagine trying to read during a storm. That’s what bad designs do to viewers.
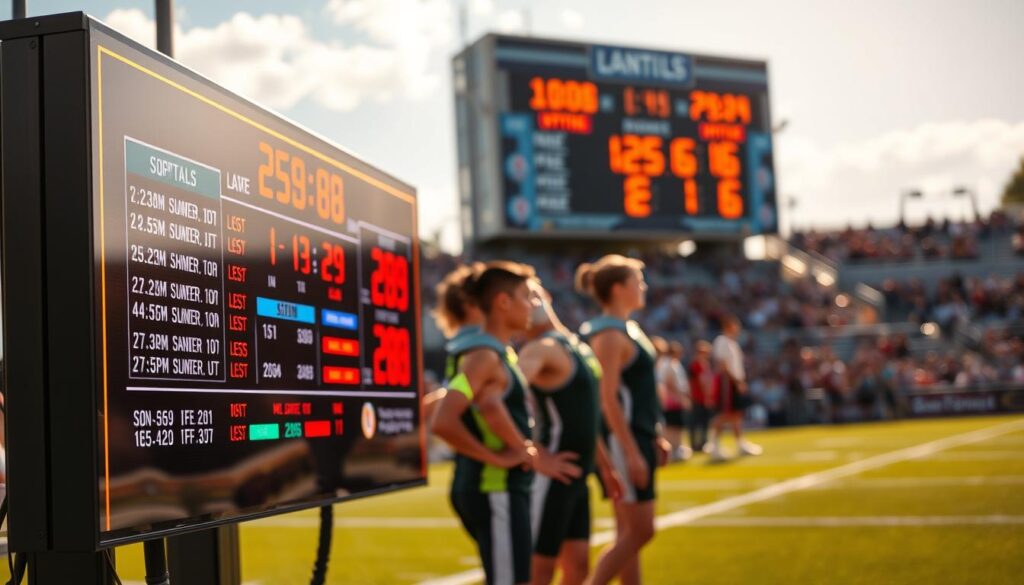
Professional displays have a clear visual hierarchy. The most important info should stand out. Scores, time, and period should be easy to see.
Color contrast is key. Yellow on white looks good on screens but not under lights. Choose colors that are easy to read:
| Great Combinations | Poor Combinations | Why They Work/Fail |
|---|---|---|
| Black on yellow | Red on green | High visibility vs. color blindness issues |
| White on blue | Light gray on white | Clear contrast vs. vanishing act |
| Green on black | Blue on purple | Classic terminal look vs. visual vibration |
Sport-specific design is essential. Basketball needs big score displays. Baseball needs inning-by-inning info. Soccer needs simple timekeeping. Getting this wrong is like using a baseball bat at Wimbledon.
Common mistakes make DIY projects hard to read:
- Font crimes: Script fonts are for weddings, not scoreboards
- Information overload: Too much data at once
- Size miscalculations: Digits too small for viewing
- Glare disasters: Sunlight affects readability
Good scoreboards are based on psychology. We read in chunks, not streams. Group data and use consistent formatting.
Test your designs at scale before making them. What looks good on your laptop might not at 50 feet.
Your DIY project should be easy to understand. The best scoreboards are those that just work.
Guide to Electronics and Displays
Welcome to the heart of your scoring operation. Here, the magic happens, and numbers come alive. It’s like the backstage of your favorite show, but with tech instead of divas.
Choosing your display technology is more than just about brightness or resolution. It’s about making a visual connection with your audience in any setting. Can your numbers be seen in the sun or from far away?
Let’s explore the display options that will make your scoreboard shine:
| Display Type | Best For | Visibility Range | Power Needs |
|---|---|---|---|
| Basic LED | Small venues, budget projects | Up to 100 feet | Low power consumption |
| High-Density LED | Medium venues, clearer text | Up to 200 feet | Moderate power needs |
| Full Video Display | Large venues, multimedia | 300+ feet | High power requirements |
| Hybrid Systems | Flexible setups | Variable | Custom power solutions |
Microcontrollers are the heroes behind the scenes. They keep everything running smoothly, like stage managers. They make sure every cue is on time.
Choosing the right microcontrollers is about reliability, not just specs. You need components that won’t fail when it matters most. It’s like finding the perfect actor for the lead role.
Compatibility is key. Your display, microcontrollers, and power supply must work together. Like an orchestra, they need to harmonize perfectly.
Responsive design is important for your scoreboard. It needs to adjust to different lighting conditions. The right microcontrollers make these changes smooth.
Every choice you make affects your audience’s trust. They rely on your scoreboard to be clear and accurate. Don’t disappoint them with poor tech choices.
Building and Programming
Welcome to the phase where your ideas come to life. This is where your scoreboard project goes from plans to something real. It’s a chance to see your vision take shape, but be careful not to get shocked.
First, let’s talk about building it. It’s like working with adult LEGOs, but with more danger and less fun. The key is to stay organized:
- Lay out all components before soldering
- Use proper ventilation when working with electronics
- Double-check polarity on every connection
- Test each module before final assembly
Programming is where your scoreboard goes from cool idea to something you can use. Unlike my first try, which showed scores in binary, you’ll want something practical.
Designing the user interface is important. Your scoreboard should be easy to use, not require a degree in computer science. Keep these tips in mind:
- Large, clear buttons for common functions
- Logical menu structure that mirrors game flow
- Emergency reset option (you’ll thank me later)
- Visual feedback for every action
Testing is key. Don’t make the same mistake I did and find out your timer works backward during the big game. Here’s how to test:
First, test each part alone. Then, put them together. Last, test the whole thing under game-like conditions. Note every problem – they make great stories later.
Your code should handle real-life situations. What if someone hits the reset button by accident? How does it deal with overtime? These details make your scoreboard project professional.
Make sure to include ways to debug your code from the start. Serial output monitoring might sound complex, but it saves you hours of trouble.
How you organize your code is very important. A modular design makes it easier to update and fix problems. Think ahead to when you’ll need to make changes.
Don’t overlook the importance of good notes. In a few months, you’ll forget why you made certain choices. Good documentation turns your scoreboard project into something you can use again.
The building phase is a mix of technical skill and creative problem-solving. Face the challenges head-on. Each problem you solve makes your project better and your skills more valuable.
Mounting and Using Your Scoreboard
Your DIY electronics project is ready for its big test: real-world use. This is where theory meets practice, and many projects fail.
How you mount your scoreboard is key. It affects how well people can see it, how long it lasts, and even the game itself.

Sight lines matter more than you think. If it’s too high, people will squint. Too low, and it might get hit by a ball. The best spot is at eye level for most viewers.
Lighting can mess with your scoreboard. Sunlight can make numbers hard to see, and backlighting can make them look ghostly. Try it out at different times before you mount it for good.
Testing how tough your scoreboard is is a must. Players will jump on it, bump into it, or treat it like gym equipment. It needs to stand up to all this.
Real-world use shows some interesting things:
- Tournament directors need quick reset options
- Youth leagues want simpler interfaces
- Multi-sport venues need preset settings
- Outdoor setups must be weatherproof
Control sequences should be easy to use. During games, nobody has time for complicated buttons. The best systems are quick and instinctive.
Being able to work with multiple devices is important. Can someone update scores from a tablet while another person uses the main panel? Does it work with streaming equipment for online viewers?
Real users often share their experiences:
- Mounting brackets often need extra support
- Wireless range tests must consider obstacles
- Battery backups are key for avoiding blackouts
- Remote access saves a lot of walking during long events
Your DIY electronics project becomes useful when you think about how people will use it. The difference between something useful and just impressive is knowing how it will work in real life.
Great scoreboards enhance the game, not the other way around. The best praise is when people don’t even notice it’s there. That means it’s working perfectly when it counts.
Updating Features
Your scoreboard shouldn’t be stuck in digital amber while the world evolves around it. Think of your creation as a living entity, not a fossilized relic.
Modern microcontrollers offer real-time update capabilities that would make your 1990s electronics blush. These tiny brains can handle score changes faster than a referee’s whistle.
Multi-user access transforms your scoreboard from solo act to ensemble performance. Coaches, statisticians, and announcers can all contribute simultaneously.
Future-proofing means building with expansion ports and extra memory. Today’s basic score tracker might need instant replay integration tomorrow.
Consider these upgrade paths for your scoreboard system:
| Feature | Current Capability | Future Expansion | Complexity Level |
|---|---|---|---|
| Remote Control | Basic Wi-Fi | Mobile App Integration | Medium |
| Multi-User Access | Single Operator | Role-Based Permissions | High |
| Data Export | Manual Recording | Cloud Synchronization | Medium |
| Visual Effects | Static Display | Animation Sequences | Low |
Advanced microcontrollers can even integrate with social media or streaming platforms. Your local game could suddenly have global reach.
The goal isn’t perfection on day one. It’s creating something that evolves, not becomes obsolete.
Success Stories
What makes a gadget more than just tech? It’s the stories behind it. These scoreboard projects did more than show numbers. They changed how people enjoy sports together.

The Lincoln High football team’s scoreboard project started in a tech class. It became the heart of Friday night games. Students learned coding and made something their town uses. Attendance jumped 30% the first season.
Why? Because everyone wanted to see their scoreboard in action.
The Portland Roller Derby’s DIY scoreboard project impressed visiting teams so much, they asked for blueprints. They focused on durability first, then added fancy features. Their scoreboard survived spills, falls, and excited elbow drops.
In small-town baseball, the Riverbend Little League’s scoreboard became a community treasure. Parents learned electronics, and kids saw adults working together. The scoreboard became a highlight of the game, no matter who was playing.
| Project | Sport | Key Innovation | Community Impact |
|---|---|---|---|
| Lincoln High Football | Football | Student-led programming | 30% attendance increase |
| Portland Roller Derby | Roller Derby | Shock-absorbent mounting | League-wide adoption |
| Riverbend Little League | Baseball | Volunteer training system | Intergenerational bonding |
| UC Ultimate Frisbee | Ultimate Frisbee | Weather-resistant displays | Tournament hosting capability |
The University Club’s ultimate frisbee scoreboard project had an unexpected benefit. Their design allowed them to host regional tournaments. This boosted local businesses and made them the cool kids on the frisbee scene.
Each scoreboard project solved real problems and created a sense of ownership. They became part of the community’s identity. The best technology is the kind that enhances human experiences without drawing attention to itself.
These stories show that the right scoreboard project can become a cornerstone of a community’s identity.
Troubleshooting
When your DIY electronics project goes wrong, you’ll need this guide fast. It’s like having emergency bourbon nearby. Components fail, code glitches, and sometimes it feels like the universe is against you.
The key is not to prevent problems but to solve them calmly. I’ve seen makers cry over small issues. The difference between panic and professionalism is how you handle it.
Begin with the simple questions. Is it plugged in? Are connections secure? Did you check the power supply? These questions can solve 40% of your problems quickly.
Testing before the event is your best defense. Here’s a checklist to follow 24 hours before:
- Full system power cycle test
- Display brightness and contrast verification
- Input device connectivity check
- Backup power supply test
- Emergency override procedure rehearsal
Compatibility issues can pop up at the worst times. That Arduino library might work in the lab but fail live. Always test under real game conditions, not just in a lab.
When things go wrong, remember the three R’s: Restart, Reconnect, Reinitialize. This simple rule has saved many events.
Make your system resilient from the start. Use redundant power supplies, backup displays, and manual switches. These can turn disasters into minor issues. Your future self will be grateful when the main board fails.
The real test of a DIY project isn’t perfection. It’s how well it handles failures. Because they will happen. And when 200 people see a blank screen, your troubleshooting skills will be the show.
Conclusion
So here we are at the final buzzer. You’ve built more than a gadget; you’ve crafted a centerpiece. Think of it as the town square clock for the digital age—only with more flashing lights and fewer pigeons.
Those microcontrollers humming behind the scenes? They’re not just silicon and code. They’re the quiet architects of community moments, turning raw data into shared gasps and cheers. This project’s ROI isn’t just in saved dollars—it’s in heightened experiences, sharper games, and yes, bragging rights at potlucks.
Where does it go from here? Sports tech is sprinting toward AI integration, IoT ecosystems, and immersive stats. Your DIY foundation, built on versatile microcontrollers, positions you perfectly for that future. You’re not just keeping score; you’re curating how we witness competition.
In the end, this scoreboard is your thesis on play, technology, and human connection. Now go mount it, light it up, and let the games begin—again.